The Road to War
In 1877 Britain annexed Transvaal, a Boer Republic area plagued by a financial crisis. That annexation brought the colonial government into direct border with the Zulu Kingdom on the east coast of South Africa. For the Natal Governor, Henry Bartle Frere, the kingdom under King Cetshwayo was considered a threat to regional stability.
In December 1878 Frere sent an ultimatum that was practically impossible to meet: to disband the Zulu military system, hand over the border dispute actors, and accept a British resident. When the deadline passed, British forces under Lieutenant General Lord Chelmsford entered Zululand in January 1879 via several routes.
The Third Column at Rorke's Drift
The Main Column, called the Third Column, crossed the Buffalo River at Rorke's Drift on 11 January 1879. Its strength was about 4,700 men, composed of regular British soldiers, colonial units, militia, and the Natal Native Contingent largely of African men. Their goal was to move toward the kingdom's capital at Ulundi.
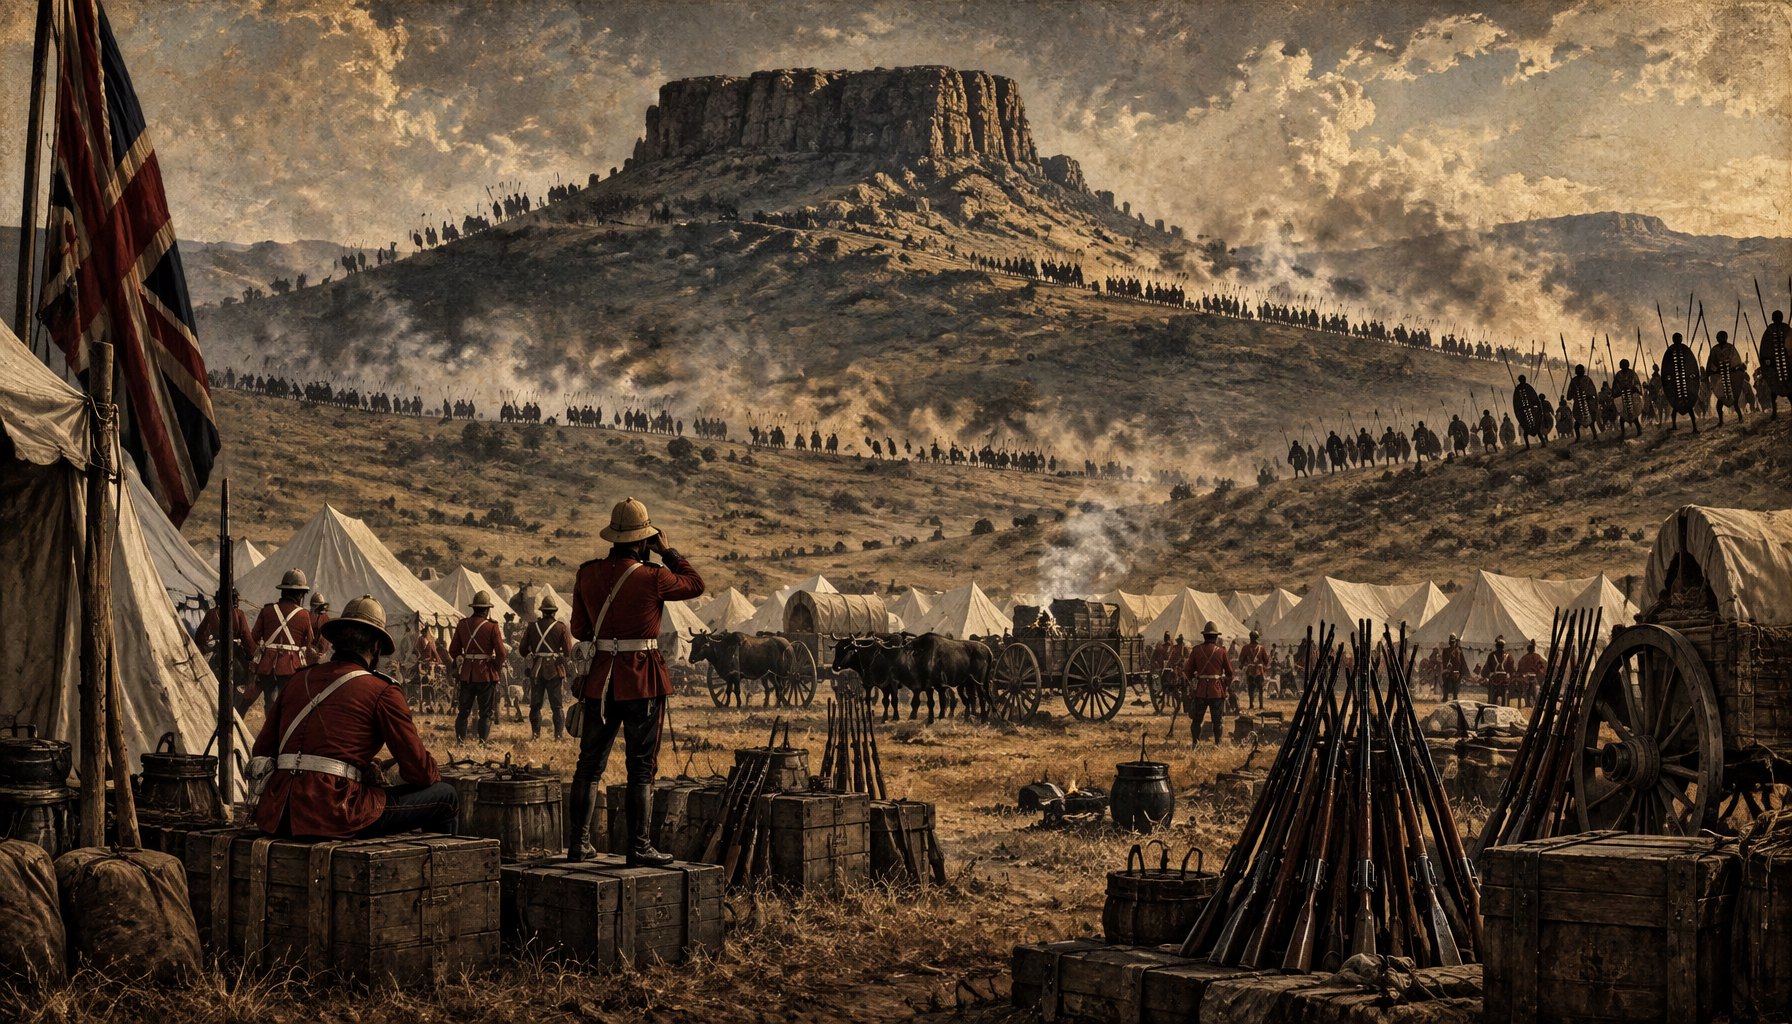
On 20 January the column established a camp beneath the slope of Mount Isandlwana. There Chelmsford received reports of Zulu forces to the southeast. He decided to split his forces: most soldiers were sent to pursue the enemy, while the camp was left with about 1,700 men.
Daytime Attack
Zulu forces numbering about 20,000 moved in traditional formations and used the hilly terrain. They appeared from an unexpected direction and attacked the unfortified camp. Chelmsford had previously ordered that the camp not be surrounded by wagons because it would slow movement.
As a result, the British defensive line was spread out and difficult to manage. Zulu forces pressed from several sides simultaneously. Within hours, the camp fell. The remaining British soldiers and colonial units attempted to retreat across the river and open plains, but many were killed in the pursuit.
Casualty Scale
More than 1,300 British, colonial, and African allied soldiers were killed, including about 50 officers. Zulu losses are estimated between 1,000 and 2,500 men, although the exact figure is hard to confirm. Isandlwana was the worst defeat for British forces in a 19th-century colonial war.
The news reached London a few weeks later and shocked the public. Prime Minister Benjamin Disraeli had to send a large relief force. Chelmsford was not immediately dismissed, but he had to restore his reputation through a series of subsequent operations.
The Same Day at Rorke's Drift
After Isandlwana, some Zulu forces moved toward the British position at Rorke's Drift, where about 150 soldiers and volunteers built a defense from sacks and wagons. Under the command of Lieutenant John Chard and Lieutenant Gonville Bromhead, they held out against repeated attacks throughout the night.
The defense of Rorke's Drift succeeded. Eleven members of the force were awarded the Victoria Cross, the largest number for a single battle in the history of that award. However, that success did not erase the reality that the day began with disaster at Isandlwana. In imperial narratives, Rorke's Drift is often used to counterbalance the embarrassing defeat.
Why the Camp Fell
Historians point out several factors. First, Chelmsford split his forces without confirming the location of Zulu troops. Second, the camp was not fortified and its defensive line was too long. Third, reconnaissance was insufficient, so the arrival of large Zulu forces was not detected earlier. Fourth, ammunition supplies during the battle became chaotic, although the popular story about a screwed ammunition box is sometimes exaggerated.
On the other hand, Zulu forces displayed high mobility, formation discipline, and terrain understanding. They moved quickly in large numbers and exploited gaps created by British command errors. Their victory was not a coincidence, even though it did not change the final outcome of the war.
The End of the War and Memory
Britain sent relief forces and continued the campaign. On 4 July 1879 British forces defeated Zulu troops at Ulundi. Cetshwayo was captured in August, and the Zulu kingdom was divided. Armed resistance ended, although the area was not fully integrated into Natal until 1897.
Today at Isandlwana stands a memorial monument for British soldiers and for Zulu forces. The battlefield is protected as a historic site. The debate about why the camp fell continues, but one thing is clear: this battle proves that colonial military power is not always superior, and that the history of conquest does not proceed as a series of flawless victories.

Discussion
Comments
Comments are reviewed by an editor before they appear. Include sources when correcting facts.
No comments yet. Be the first to respond to this article.